How to Replace Bathroom Faucet Without Leaks
By Vitalii Nestorenko · August 9, 2026 · 6 min read
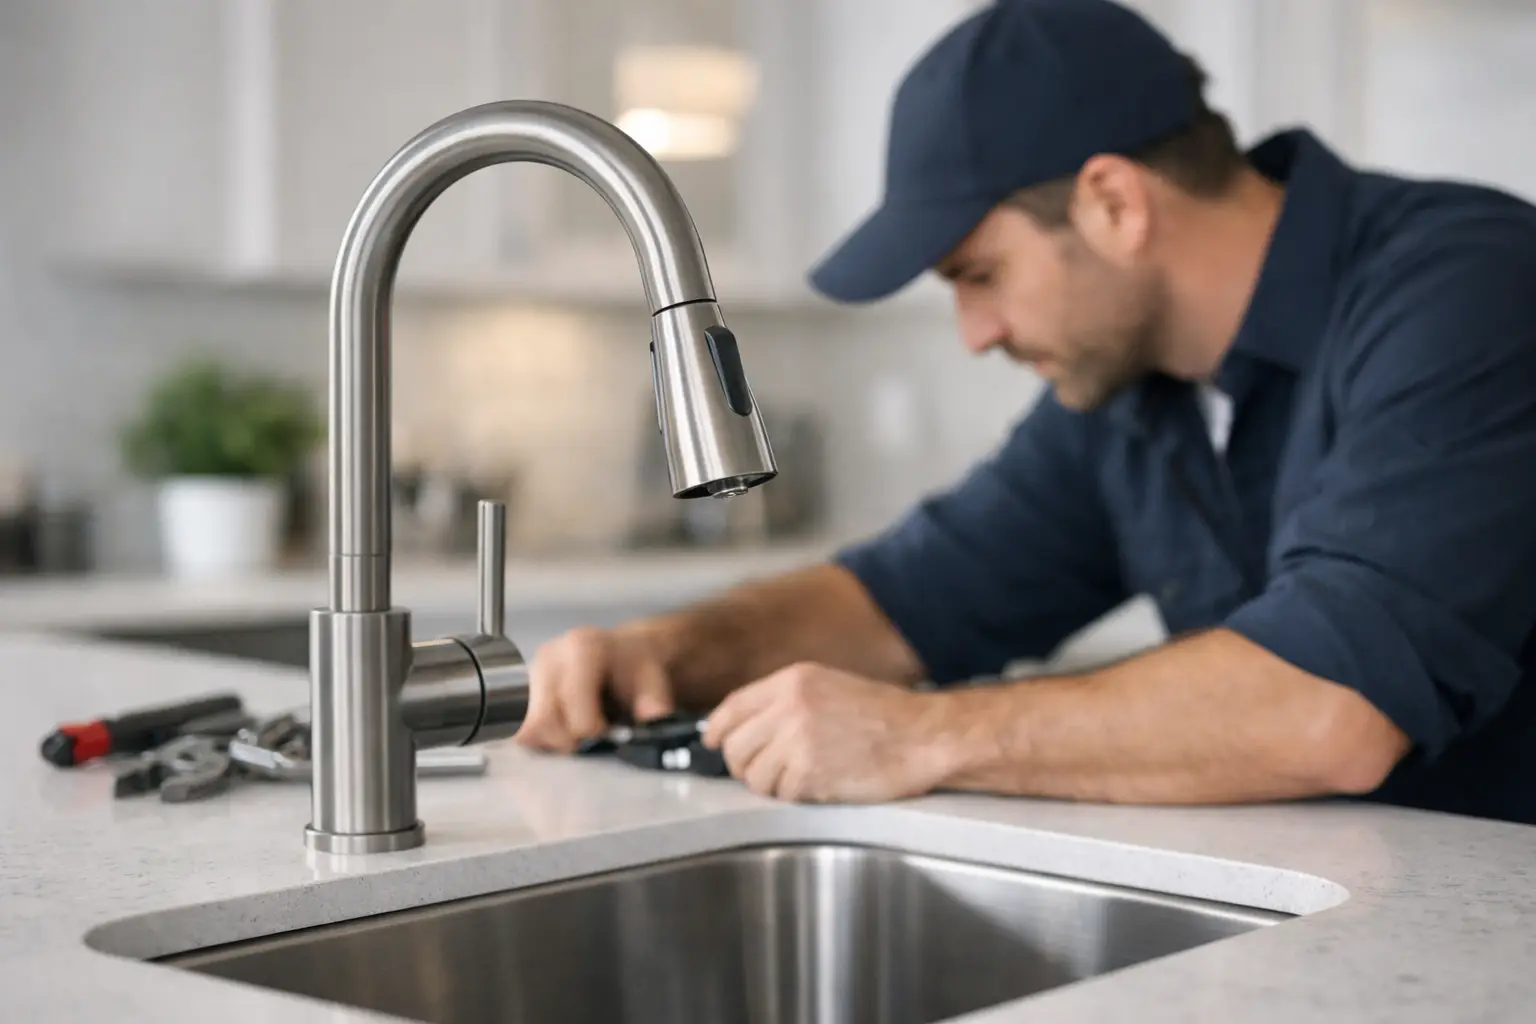
A bathroom faucet can make a whole vanity look dated, even when the countertop and cabinet are still in good shape. Learning how to replace bathroom faucet hardware is a practical way to update the room, stop a persistent drip, or replace a finish that has worn through. The job is manageable when the shut-off valves work, the new faucet fits the sink, and the old connections come apart without a fight.
The trouble is that faucet replacement happens in one of the tightest spaces in the house. A small leak under the sink can quietly damage a vanity base, and forcing a seized nut can crack a supply line or damage the sink. A careful approach matters more than speed.
Before You Replace a Bathroom Faucet
Start by confirming that replacement is the right fix. A loose handle, worn cartridge, clogged aerator, or failed pop-up drain may be repairable. But if the faucet is corroded, leaking from its body, difficult to operate, or no longer matches the bathroom, replacement is often the better long-term choice.
Measure the mounting holes in your sink before buying anything. Most bathroom faucets are designed for either a single-hole sink, a 4-inch centreset layout, or an 8-inch widespread layout. A single-hole faucet cannot always cover three existing holes without an escutcheon plate, while a widespread faucet needs three separate holes. Check the product specifications rather than assuming the new fixture will fit.
Also look under the sink. Make sure there is room for the faucet hardware, the pop-up drain assembly, and the supply hoses. Older homes may have rigid copper supply lines, corroded shut-off valves, or plumbing that needs attention before a new faucet can be connected.
Gather the right tools and materials
For a typical replacement, keep these items nearby:
- A basin wrench for reaching mounting nuts behind the sink
- An adjustable wrench or channel-lock pliers
- A bucket, towels, and a small sponge
- Plumber's putty or silicone sealant if the faucet manufacturer requires it
- Penetrating oil for stubborn nuts
- New braided supply lines if the existing lines are old, damaged, or the wrong length
Read the installation instructions that come with the faucet before starting. Different brands use different gasket arrangements, mounting plates, and drain assemblies. The instructions supplied with the fixture take priority over any general rule.
How to Replace Bathroom Faucet Step by Step
1. Clear the cabinet and turn off the water
Remove everything from below the sink. Put a bucket and towels beneath the shut-off valves, because a little water will drain out when the supply lines are disconnected.
Turn the hot and cold shut-off valves clockwise until they stop. Open the faucet to release pressure and verify that the water is off. If water still runs, the valve may not be closing properly. Do not continue by hoping the flow will stop on its own. Turn off the home's main water supply or arrange for the faulty valve to be replaced first.
2. Disconnect the supply lines
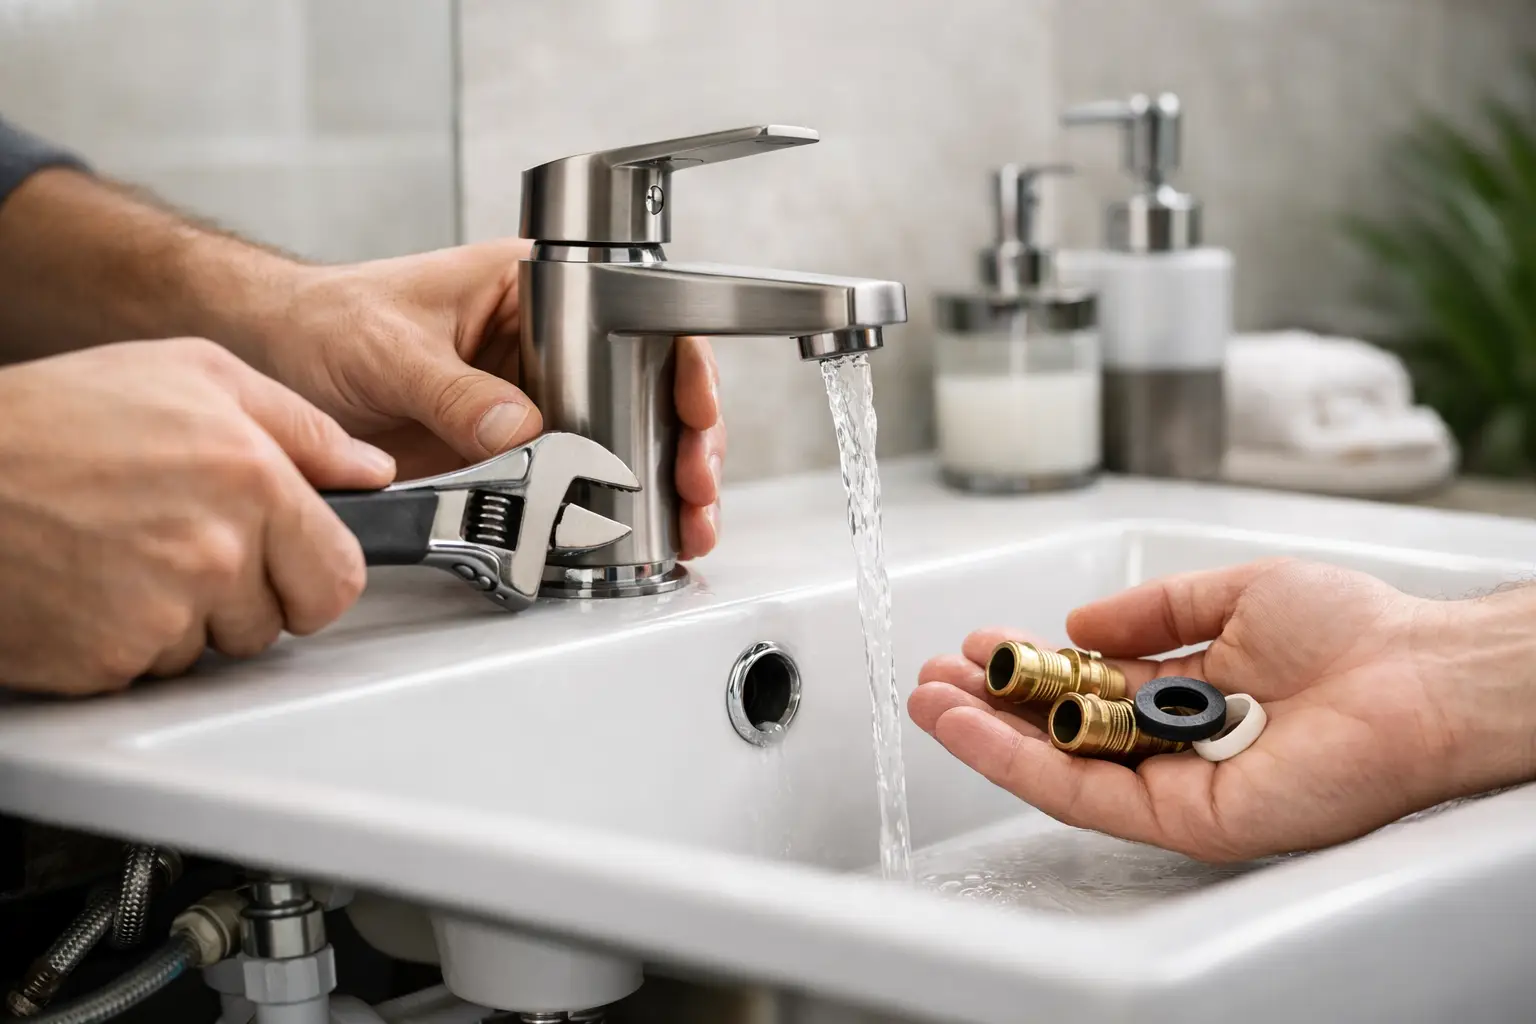
Use an adjustable wrench to loosen the nuts that connect the flexible supply lines to the shut-off valves. Hold the valve body steady with a second wrench if it begins to twist. You want to loosen the connection, not turn the valve or stress the pipe coming from the wall.
Once the lines are loose, let the remaining water drain into the bucket. If the existing flexible hoses are stiff, rusted, kinked, or more than a few years old, replace them. New supply lines are inexpensive compared with the cost and inconvenience of a leak inside a vanity.
3. Remove the old faucet and drain hardware
Look up behind the sink basin for the mounting nuts holding the faucet in place. A basin wrench is useful here because it reaches into the narrow gap where standard wrenches often cannot fit. Spray penetrating oil on badly corroded nuts and give it time to work instead of applying excessive force.
Disconnect the lift rod from the pop-up drain if your old faucet has one. Then loosen the drain trap, remove the drain assembly, and take off the old faucet. Keep the trap positioned over the bucket, as it will hold water.
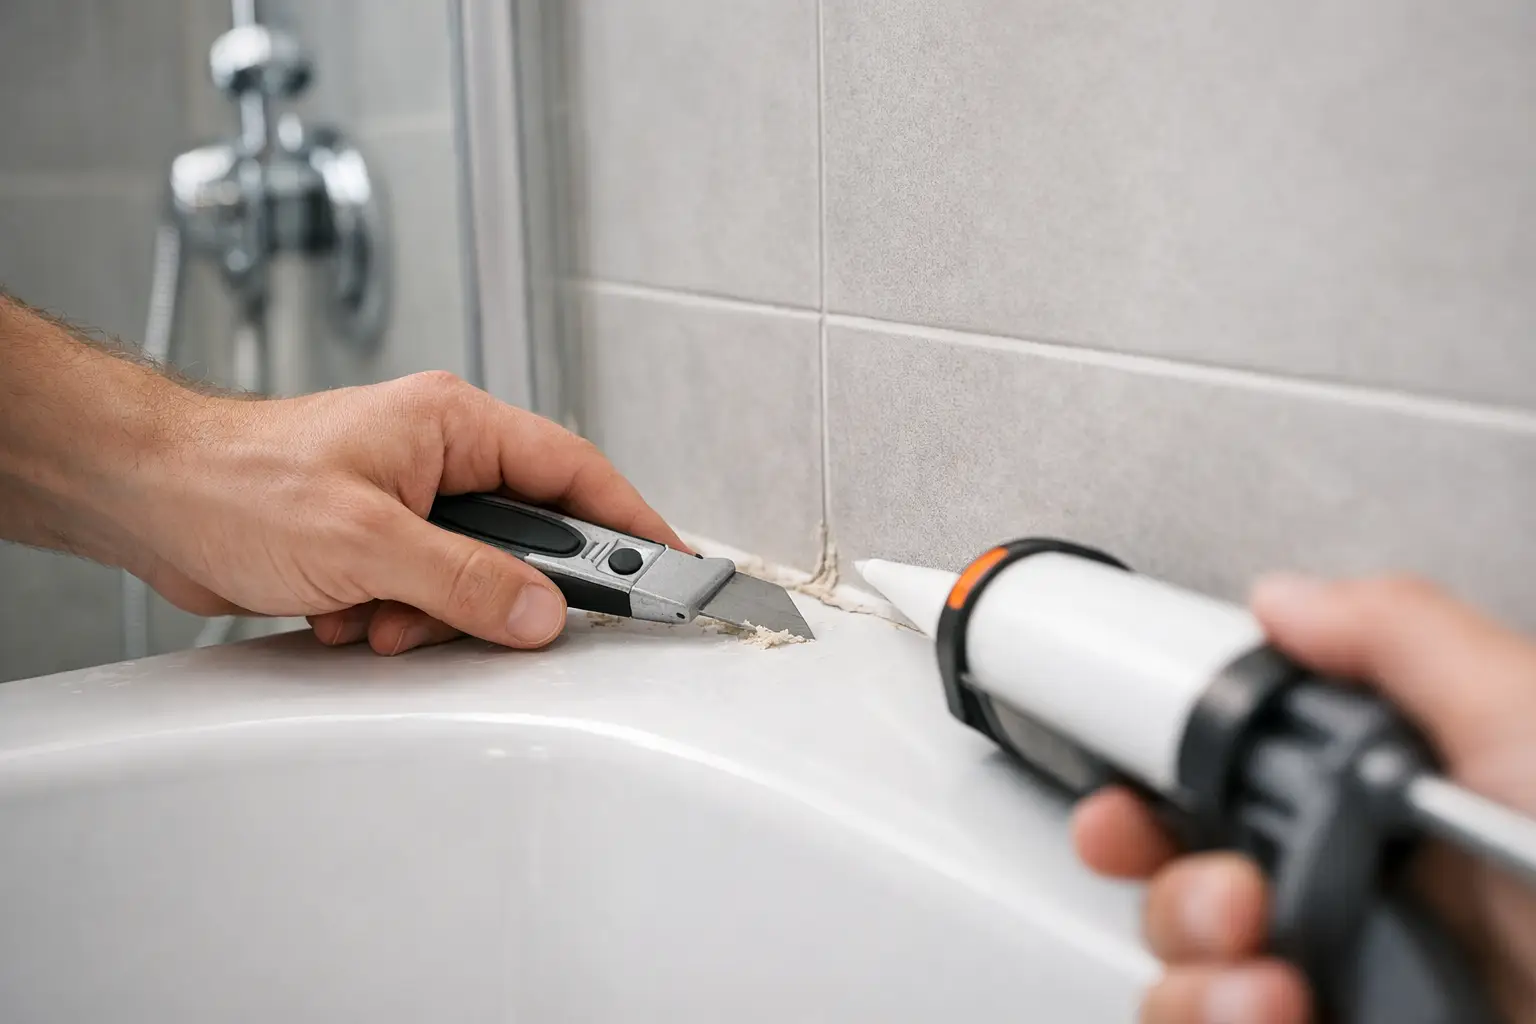
If the old faucet will not lift out after the nuts are removed, mineral deposits or old sealant may be holding it in place. Score the seal gently with a utility knife and work the fixture free slowly. Avoid prying against porcelain, cultured marble, or a thin countertop.
4. Clean the sink surface properly
This step is easy to rush and often causes trouble later. Scrape away old putty, silicone, grime, and mineral buildup from the top of the sink. Wipe the mounting area clean and dry so the new gasket can sit flat.
Check the sink around each mounting hole for cracks, chips, or soft spots. A new faucet cannot correct damage to the sink itself. If you see a crack that reaches a hole or the drain opening, have it assessed before installing the new fixture.
5. Install the new faucet
Set the faucet into the mounting hole or holes with the manufacturer-provided gasket or mounting plate in place. Some models call for a thin bead of silicone beneath the plate, while others specifically instruct you not to use sealant. Follow the directions for your model.
From below the sink, install the washers, brackets, and mounting nuts. Centre and straighten the faucet from above before fully tightening it. Tighten just enough to stop movement. Over-tightening can warp a gasket, crack a sink, or strip a plastic mounting nut.
Connect the hot supply line to the hot shut-off valve and the cold line to the cold valve. In most installations, hot is on the left and cold is on the right. Hand-tighten the nuts first, then use a wrench for a small additional turn. Supply-line fittings do not need brute force. If a connection leaks, tighten it gradually rather than crushing the washer.
6. Install the drain assembly
Many new bathroom faucets include a matching pop-up drain. Apply plumber's putty or silicone beneath the drain flange only if directed by the manufacturer. Some modern drains use rubber gaskets and should be installed dry.
Feed the drain body through the sink, fit the gasket and retaining nut from below, then connect the tailpiece to the trap. Reattach the lift rod and pivot rod if your drain uses them. Test the stopper several times before tightening everything completely, since it is much easier to adjust while the cabinet is empty.
7. Turn on the water and test for leaks
Remove the aerator from the faucet spout before running water. This prevents loosened debris from clogging it. Slowly open the hot and cold shut-off valves, then inspect every connection with a dry paper towel. A towel reveals a small drip faster than a quick glance.
Run both hot and cold water for a minute, check the drain while the basin is full, then let the water drain and inspect the trap. Finally, reinstall the aerator. Return later that day and check the cabinet base once more. Slow leaks can take time to show themselves.
Common Problems That Make This Job Harder
The most common issue is a seized shut-off valve or corroded mounting nut. Another is discovering that the new faucet hoses do not reach the valves. Avoid stretching hoses or joining multiple extension fittings unless they are specifically approved for that use. The cleaner solution is usually a correctly sized new supply line.
Drain leaks are also common after replacement. They usually come from a crooked gasket, an uneven drain flange, or a trap connection that is cross-threaded. Taking the connection apart, cleaning it, and reassembling it squarely is better than adding extra sealant around the outside.
If the vanity has water damage, the shut-off valves are unreliable, or the sink is difficult to access, calling for help can prevent a small upgrade from becoming a plumbing repair. For Calgary, Airdrie, Okotoks, and Cochranehomeowners who want the fixture installed cleanly and checked properly, Nestor's Home Help can take care of the faucet, drain, and final leak test in one visit.
A new faucet should feel like an improvement the moment you turn it on, not a reason to keep checking under the sink. Give the connections time, test them carefully, and deal with even a small drip before it has a chance to damage the cabinet below.
Vitalii Nestorenko is the owner of Nestor's Home Help, a licensed and insured handyman business in Calgary. He holds a Master's degree in mechanical engineering and does every job himself.