How to Install Ceiling Light Safely at Home
By Vitalii Nestorenko · September 24, 2026 · 7 min read
A new ceiling light can make a dark hallway, dated bedroom, or busy kitchen feel completely different in an afternoon. But learning how to install ceiling light fixtures safely starts with one non-negotiable rule: never trust a switch alone. The power must be off at the breaker and tested before any wire is touched.
Replacing an existing fixture is often a manageable job when the wiring, ceiling box, and new light are all in good condition. Installing a light where there has never been one, repairing damaged wiring, or dealing with a heavy fixture is a different kind of project. Knowing the difference protects your home and keeps a small upgrade from becoming an expensive repair.
Before You Install a Ceiling Light
Start by confirming what you are replacing. If there is already a working fixture mounted to an electrical box in the ceiling, the job is usually a fixture swap. You will remove the old light, connect the new one, secure it properly, and test it.
If you only see wires coming through a hole in the drywall, stop and inspect carefully. A light fixture needs an approved electrical box to contain connections and support the fixture. It should never be attached directly to drywall, wood lath, or a loose metal bracket. Heavy lights such as chandeliers, large pendants, and ceiling fans may require a box specifically rated for their weight and movement.
Check the new fixture instructions before opening up the ceiling. Confirm the fixture is suitable for its location, especially in bathrooms, laundry rooms, covered outdoor areas, and damp spaces. Also check the bulb type, wattage limit, dimmer compatibility, and whether the mounting hardware is included.
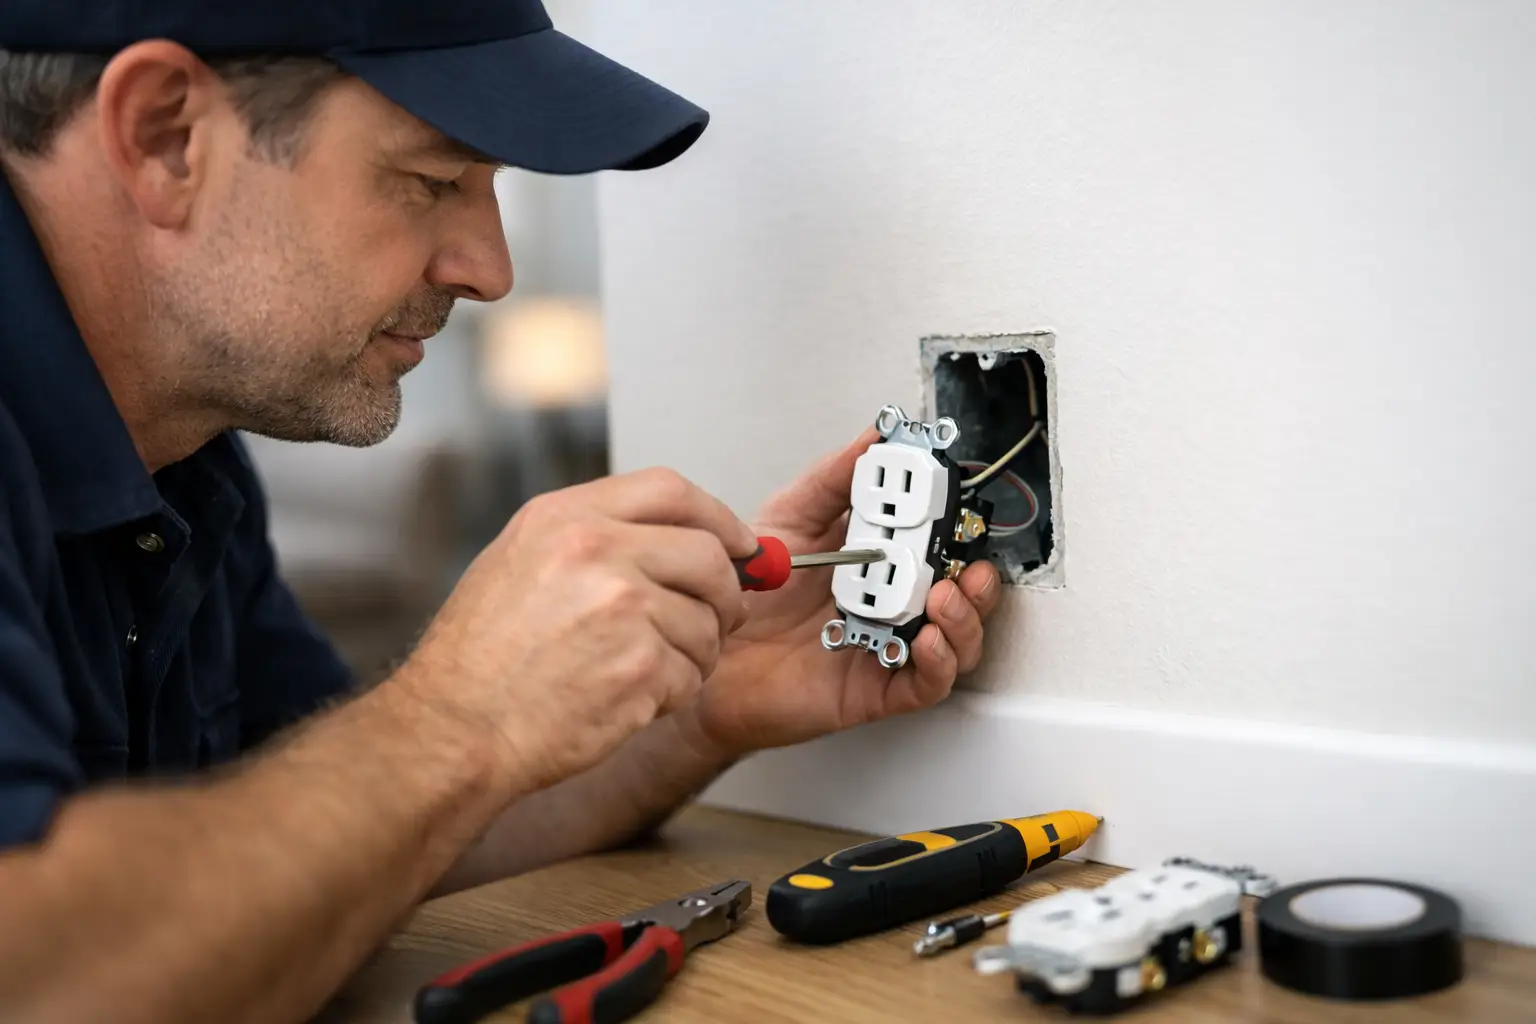
For a straightforward replacement, gather a non-contact voltage tester, screwdrivers, wire strippers, approved wire connectors, electrical tape, a step ladder, and safety glasses. Keep the fixture instructions nearby. Small differences in mounting brackets and grounding screws matter.
Renters should get permission from their landlord or property manager before changing a ceiling light. Landlords should also consider whether the fixture is appropriate for the property and whether a documented professional installation makes more sense for liability and maintenance records.
How to Install Ceiling Light Fixtures Step by Step
1. Turn off the correct breaker
At the electrical panel, turn off the breaker serving the light fixture. Then return to the room and try the wall switch. The light should not turn on.
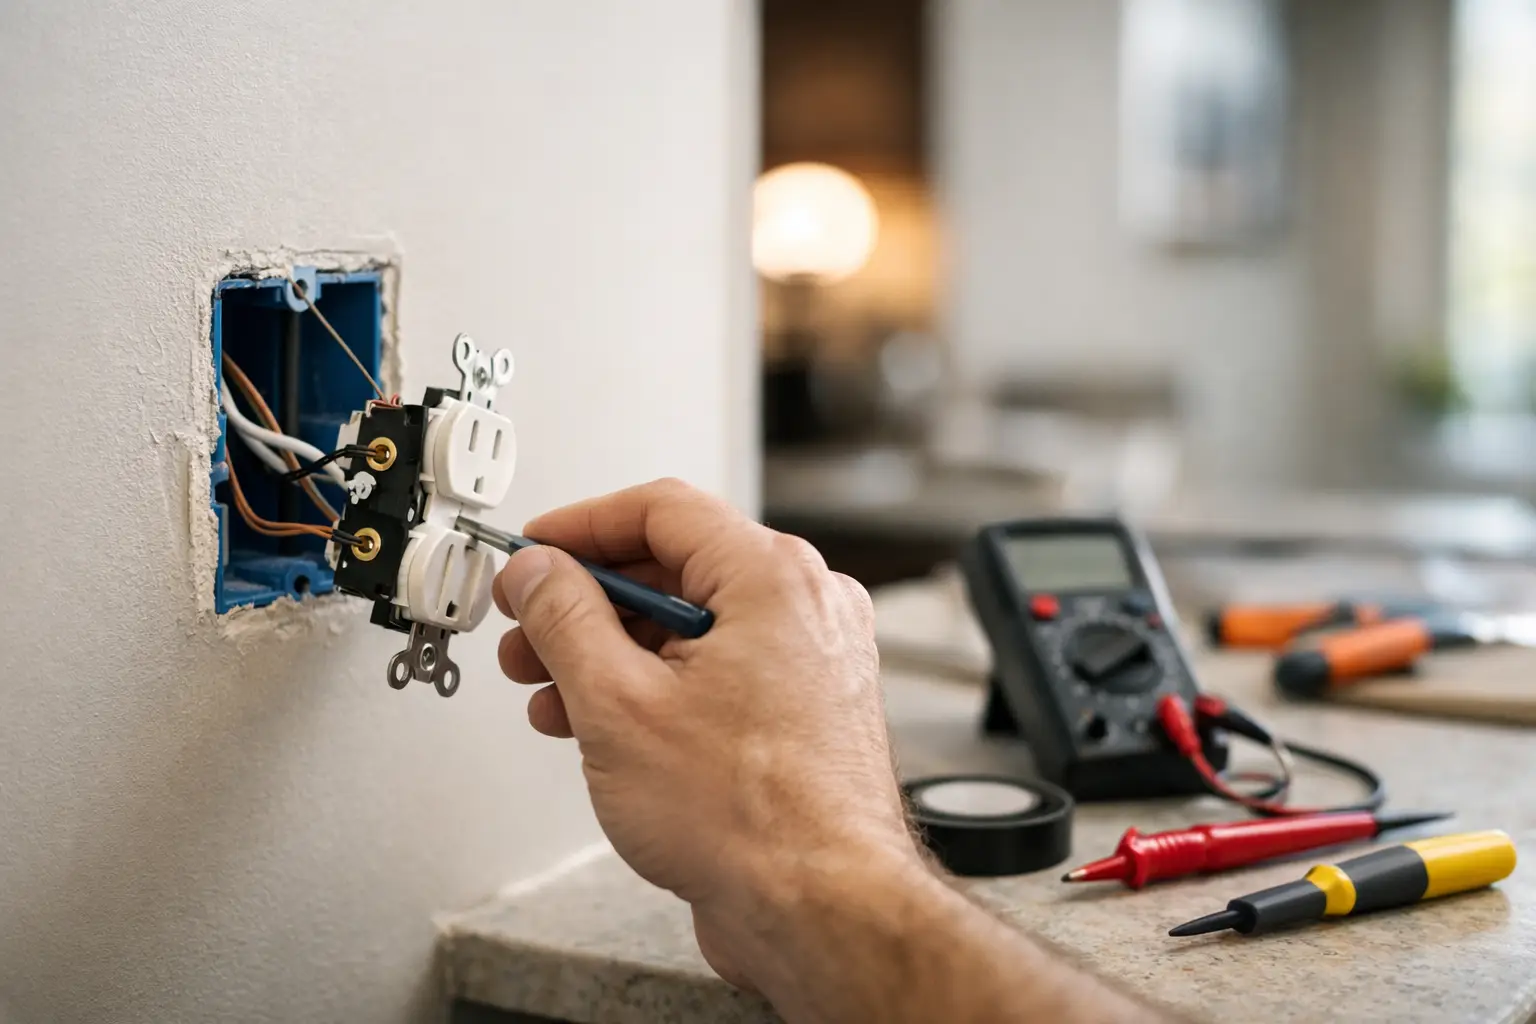
That is only the first check. Use a non-contact voltage tester near the fixture wiring before disconnecting anything. In some homes, ceiling boxes contain more than one circuit or wiring that has been altered over time. If the tester indicates power, return to the panel and identify the correct breaker before continuing.
2. Remove the old fixture carefully
Remove the bulb and any glass shade first. This reduces weight and prevents breakage. Loosen the canopy or base screws, then support the fixture with one hand while you remove the final fastener.
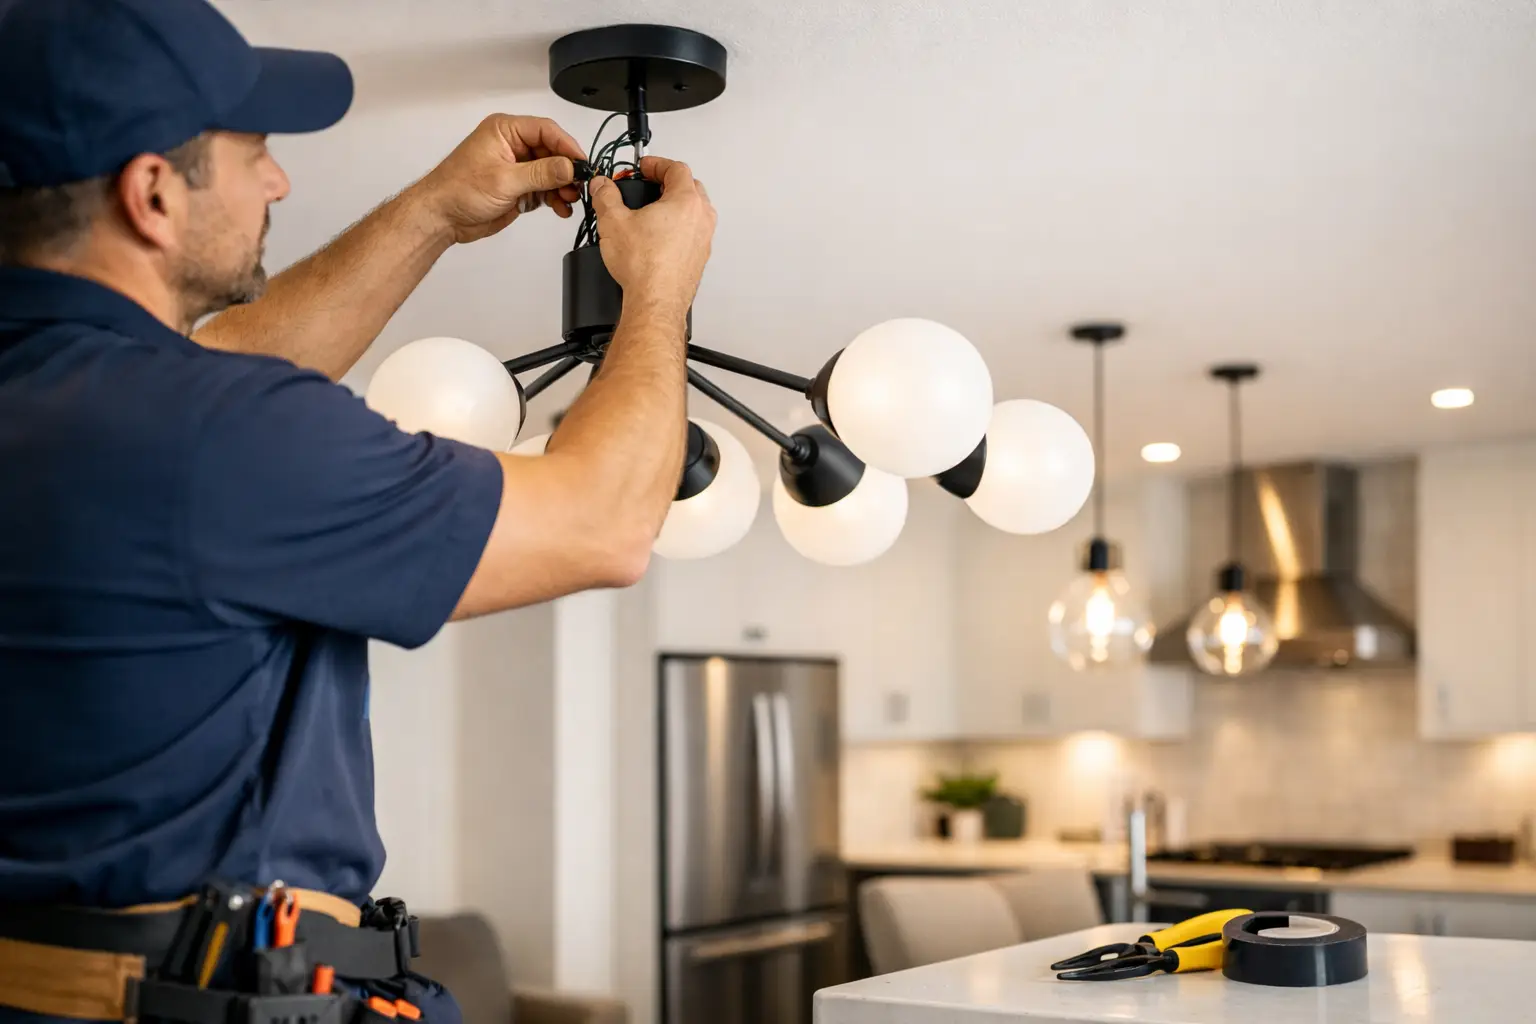
Do not let the fixture hang by its wires. If it is awkward, heavy, or mounted high over stairs, have another person help or book a professional. Once the wiring is visible, take a clear photo before disconnecting it. A photo can be useful if you need to confirm where each wire was attached.
3. Inspect the ceiling box and wiring
Look for a secure electrical box that does not shift when gently tested. Check for cracked insulation, scorched wires, loose conductors, water staining, or signs that the previous fixture overheated. These are not issues to cover up with a new canopy.
Most modern wiring uses a black wire for hot, a white wire for neutral, and a bare copper or green wire for ground. However, wire colours alone are not a guarantee, particularly in older homes or homes with previous DIY work. If the wiring does not match the fixture instructions, if there is no ground, or if multiple wire bundles are present, pause the job and have it assessed.
4. Install the mounting bracket
Most ceiling lights include a metal crossbar or mounting strap. Attach it to the electrical box using the screws supplied for that purpose. The bracket should sit flat and feel solid.
Do not substitute random screws that happen to fit. Electrical boxes use specific threaded mounting points, and improper screws can damage the box or leave the fixture loose. A light that slowly sags or twists is not just unattractive - it can strain the wiring connections behind it.
5. Connect the wires securely
Follow the manufacturer’s wiring diagram. In a typical replacement, the fixture’s ground wire connects to the home’s ground wire or grounding screw, the fixture’s neutral connects to the neutral, and the fixture’s hot wire connects to the switched hot wire.
Use approved wire connectors sized for the wires being joined. The copper conductors should be fully inside the connector with no bare wire exposed below it. Give each connection a gentle tug to make sure it is secure. Then fold the wires carefully into the electrical box without pinching, sharply bending, or forcing them.
Avoid relying on electrical tape as the primary connection method. Tape can be used as an added layer where appropriate, but proper connectors and sound wiring are what hold the connection together.
6. Mount the fixture and install the bulb
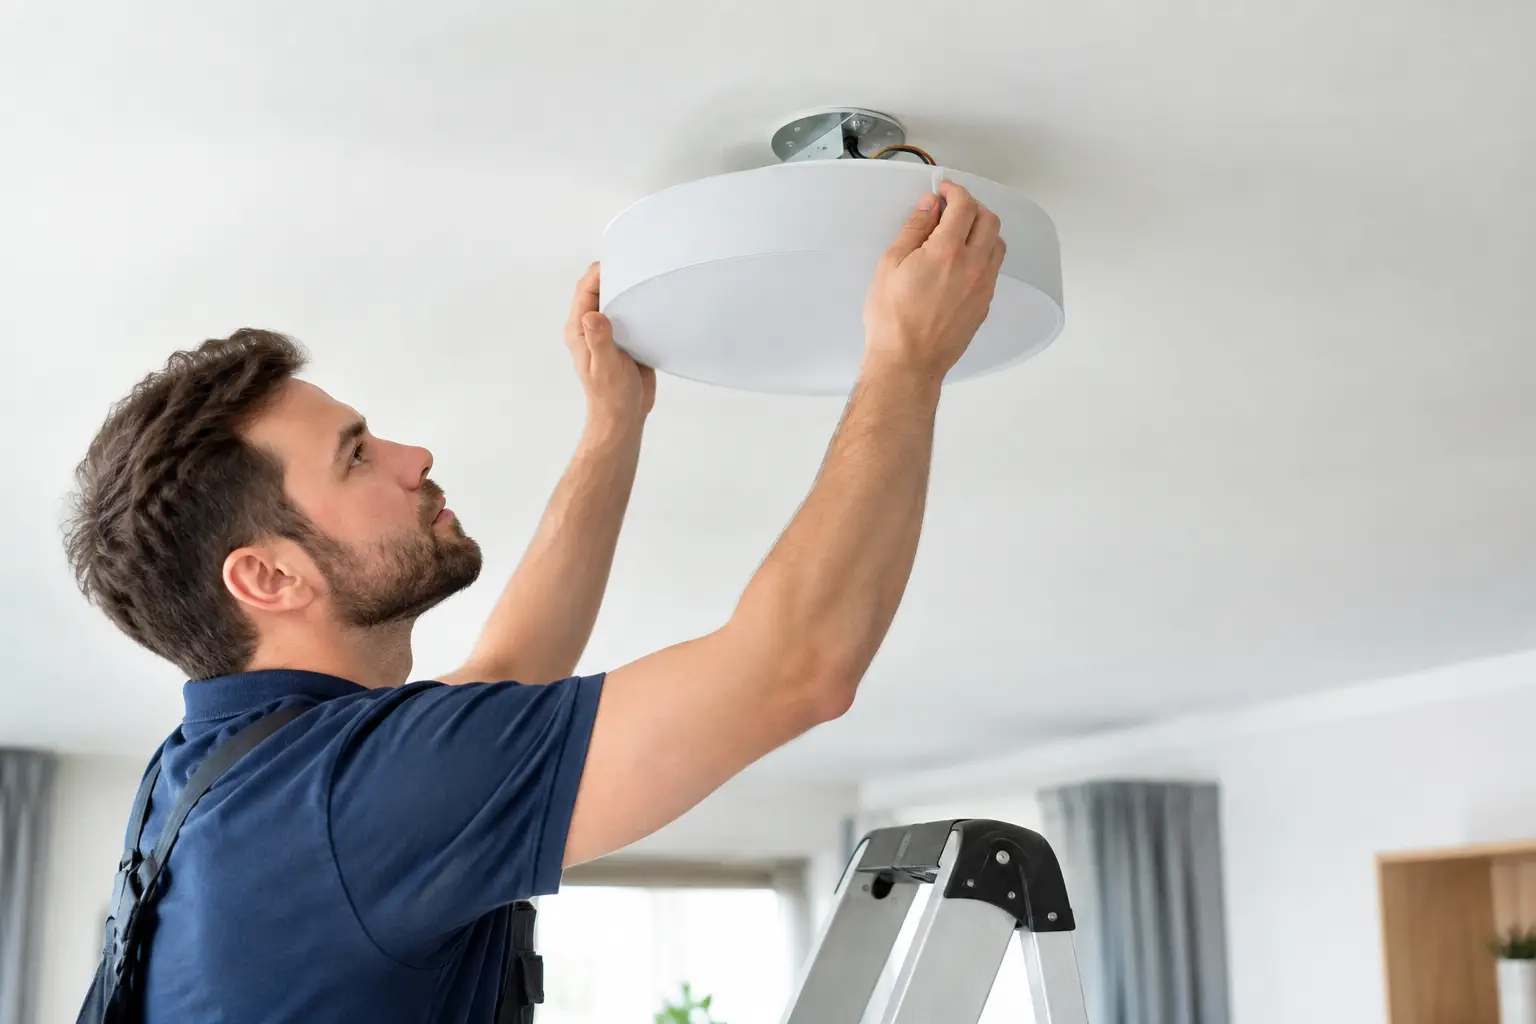
Lift the fixture into place and secure it to the bracket as directed. Keep the canopy straight and snug against the ceiling, but do not overtighten decorative screws or glass components. Over-tightening can crack a shade, strip a threaded part, or leave the fixture sitting unevenly.
Install bulbs that match the fixture’s maximum wattage and recommended bulb type. LEDs are usually a practical choice because they run cooler and use less energy, but make sure they are compatible with any dimmer switch in the room.
7. Restore power and test it
Turn the breaker back on, then test the wall switch. Watch for flickering, buzzing, heat, a burning smell, or a breaker that trips. If anything seems unusual, turn the power off again immediately.
A fixture that does not work may have a loose connection, incompatible dimmer, faulty bulb, tripped breaker, or an issue in the switch or existing wiring. Do not keep resetting a breaker that trips. That is a warning sign worth investigating properly.
Common Problems That Should Not Be Ignored
A new light that sits crooked is often a mounting issue, not a cosmetic one. Recheck that the mounting strap is centred, the box is secure, and the canopy screws are evenly tightened. If the ceiling itself is uneven, a small gap may be normal, but the fixture should still be firmly supported.
Flickering can be as simple as a loose LED bulb or an old dimmer that is not designed for LED fixtures. It can also point to a loose electrical connection. If tightening the bulb and checking compatibility does not solve the problem, switch the power off and have the wiring inspected.
A missing ground wire is another situation where the right answer depends on the home’s wiring system and the fixture type. Do not guess or attach a ground wire to something that is not an approved grounding point. Older homes deserve extra caution because wiring methods and box conditions can vary widely.
When to Call a Professional
Call for help when the fixture is heavy, the ceiling box is loose or missing, wires are damaged, the breaker trips, or the job involves adding a new light location. The same applies if you find aluminum wiring, evidence of moisture, a burning smell, or confusing wire combinations.
In Calgary, a professional is also a sensible choice when you need a fixture installed quickly before tenants move in, guests arrive, or a renovation wraps up. A qualified handyman can handle straightforward fixture replacements, while work that requires new circuits, panel changes, or specialized electrical repairs may need a licensed electrician. The right service depends on the scope, not just the size of the light.
Nestor’s Home Help can assist with clean, secure light fixture replacement for homeowners and property managers who would rather skip the ladder, wiring questions, and cleanup.
Finish the Job Cleanly
Once the light is working, remove the protective film, wipe fingerprints from the shade, and dispose of old bulbs safely. Keep the fixture manual and any spare mounting hardware in a labelled spot. If you changed bulb types or installed a dimmer-compatible fixture, make a quick note for future maintenance.
A ceiling light should do more than turn on. It should sit straight, feel secure, suit the room, and give you confidence that the work behind the canopy was done with care.
Vitalii Nestorenko is the owner of Nestor's Home Help, a licensed and insured handyman business in Calgary. He holds a Master's degree in mechanical engineering and does every job himself.