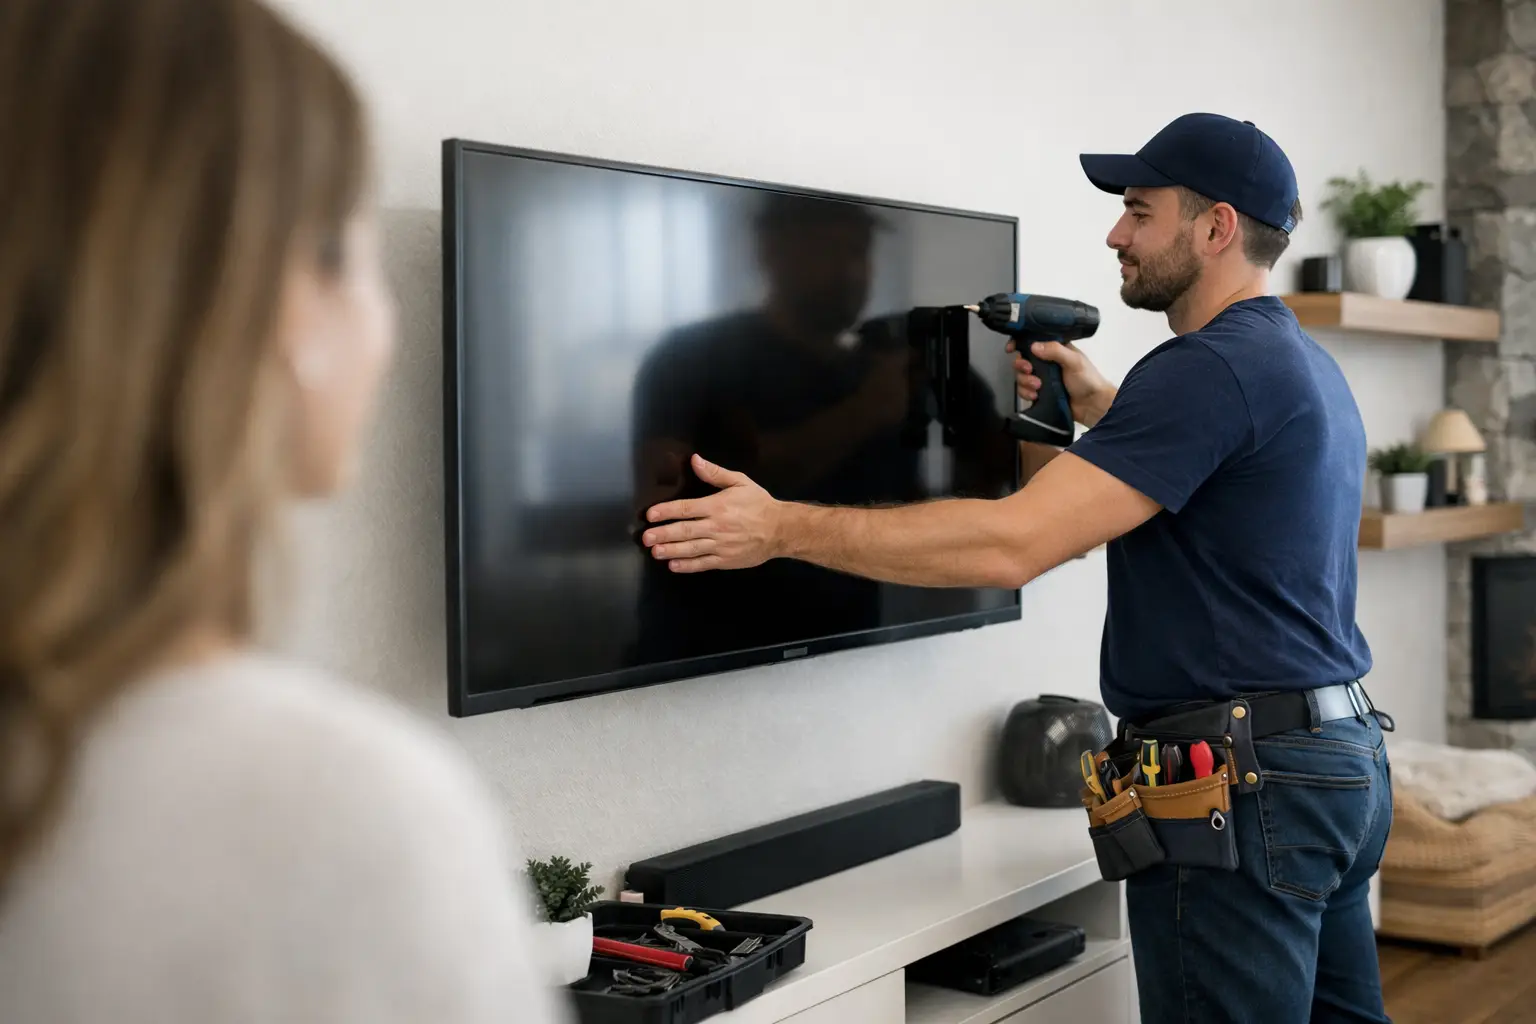
How to Hang a Heavy Mirror Safely at Home
By Vitalii Nestorenko · August 23, 2026 · 7 min read
A heavy mirror can transform a hallway, dining room, or bedroom in minutes. It can also cause major wall damage or serious injury if the mounting point fails. If “how to hang heavy mirror” is the question you are searching, start with the wall itself, not the hardware package. The safe method depends on the mirror’s actual weight, its hanging system, and what is behind the finished wall.
Start With the Mirror’s Weight and Hanging Hardware
Do not guess the weight. Check the manufacturer’s label, weigh the mirror on a bathroom scale, or look up its specifications before buying hardware. A framed mirror that looks manageable can easily weigh 20 to 35 kg, especially if it has a solid wood or metal frame.
Next, inspect the back. A heavy mirror should have solid D-rings, metal keyhole brackets, a mounting rail, or a French cleat. Small sawtooth hangers and lightweight wire are not a good choice for a heavy piece. If the existing hardware is bent, loose, corroded, or attached with very small screws, replace it before installation.
As a practical rule, the wall hardware should be rated well above the mirror’s total weight. That extra capacity matters because the load is not always shared perfectly between two fasteners. It also accounts for the force created when the mirror is bumped, adjusted, or pulled slightly away from the wall during cleaning.
How to Hang a Heavy Mirror on Different Wall Types
The best fastener changes with the wall. Using a drywall anchor in a masonry wall, or a plastic plug for a very heavy mirror, is where many installations go wrong.
Drywall with a Stud Behind It
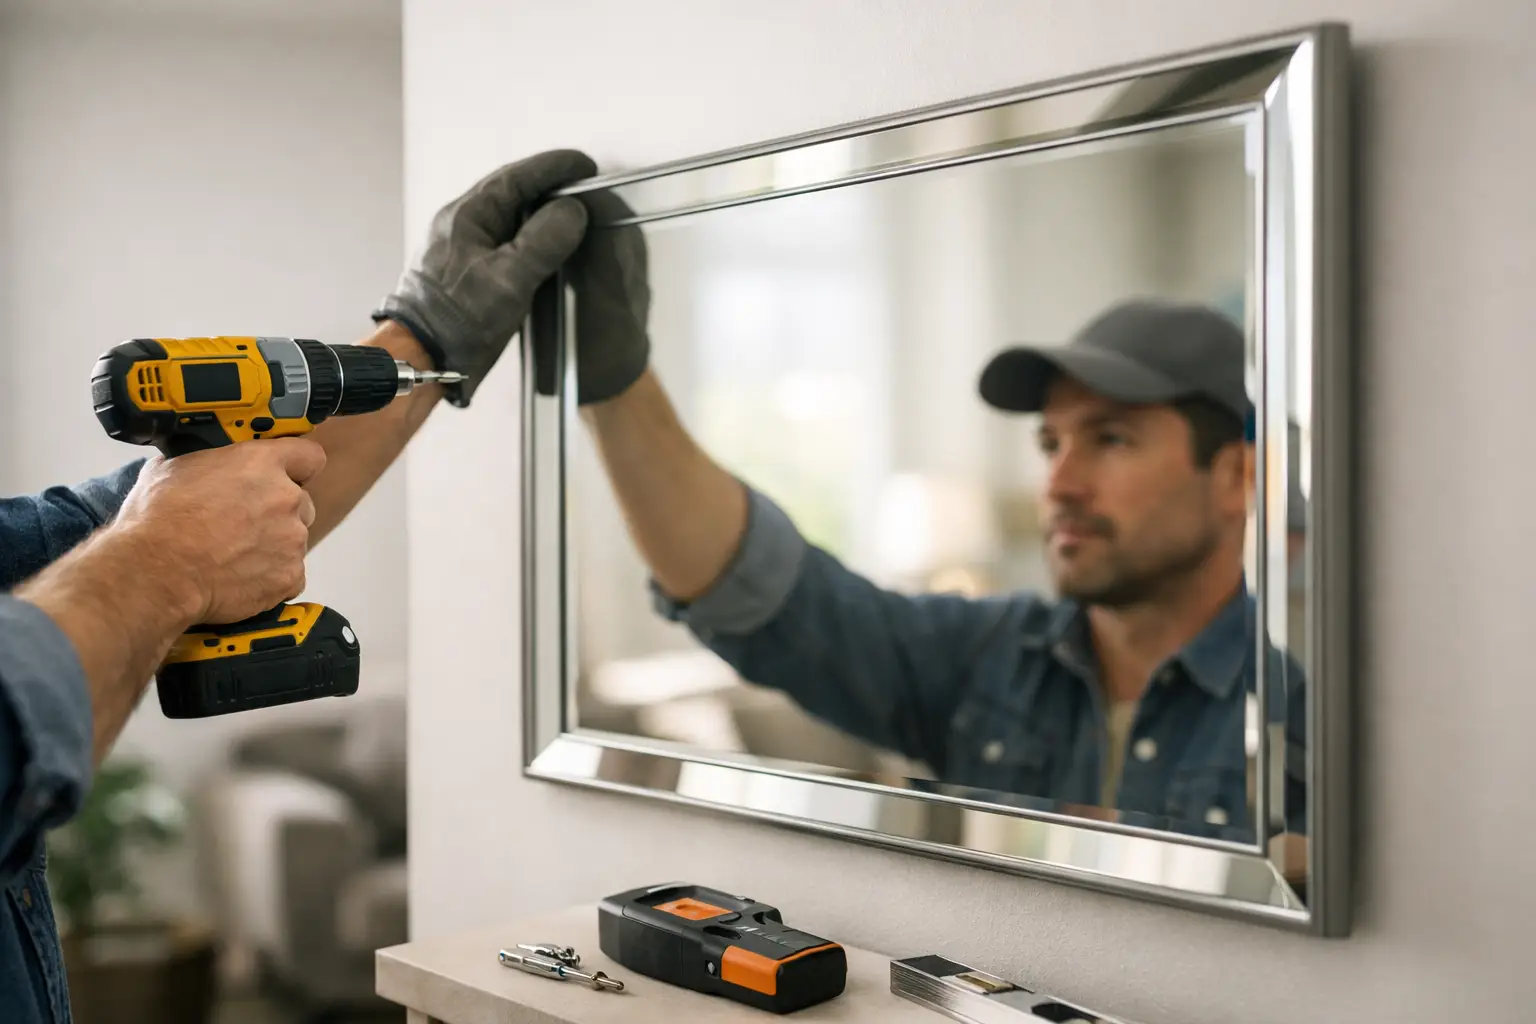
A wood stud is usually the strongest and simplest mounting point for a heavy mirror. Use a stud finder, then confirm the result with a small pilot hole in a hidden location if needed. Studs are commonly spaced 16 or 24 inches apart, but older homes and renovation work can vary.
Drive appropriately sized wood screws through the mirror’s brackets or hangers and into the centre of the stud. Aim for enough screw penetration to hold securely without using a screw so long that it risks hitting plumbing or electrical wiring. For most framed mirrors, two mounting points are safer and help keep the piece level.
Sometimes the mirror’s D-rings do not line up with studs. In that case, you may be able to use one stud and one heavy-duty toggle anchor, or install a properly secured mounting board that spans between available studs. Do not force the layout just to make the mirror look centred if the hardware is not properly supported.
Drywall Without a Convenient Stud
For a moderately heavy mirror, heavy-duty toggle bolts can be a reliable drywall option when installed correctly. Unlike basic plastic anchors, toggles spread the load across a wider area behind the drywall. They still have limits, so check the rating for your wall thickness and use the manufacturer’s instructions.
Avoid relying on self-drilling anchors or standard plastic anchors for a large, heavy mirror. Their ratings are often based on ideal conditions and straight downward loads. A mirror creates leverage that can pull the anchor outward, especially if someone catches it with a shoulder, vacuums nearby, or opens a door into it.
If the mirror is especially large, valuable, or mounted above furniture where people sit, opening the wall to add blocking may be worth the extra work. It creates a secure solid-wood mounting surface exactly where you need it.
Concrete, Brick, or Block Walls
Masonry can hold substantial weight, but it requires the right drill bit and anchors. Use a hammer drill with a masonry bit, then install concrete screws or masonry anchors sized for the load. Drill into solid brick or concrete whenever possible, not mortar joints, which can be weaker and prone to crumbling.
Work slowly and clear dust from the hole before installing the anchor. A loose, dusty hole can reduce the anchor’s grip. If you are unsure whether a wall is solid concrete, hollow block, brick veneer, or plaster over masonry, it is worth confirming before drilling.
Tile, Plaster, and Other Finished Surfaces
Tile and plaster need extra care because they can crack or chip. For tile, mark the location with painter’s tape to help prevent the drill bit from slipping, then use a tile or glass bit at low speed until you pass through the tile. Do not use hammer mode until you are into the masonry behind it, if masonry is present.
With plaster walls, finding a stud is usually the best route. Old plaster can be brittle, and anchors may not perform as expected if the wall has voids or deteriorating lath behind it.
Measure Before You Drill
A mirror should look intentional, not merely level. In a dining room, living room, or entryway, a common starting point is to place the centre around 145 to 152 cm from the floor. That is only a guideline. Above a console table or fireplace, the relationship between the mirror and furniture matters more than a fixed measurement.
Hold the mirror in position with a second person and use painter’s tape to outline the top corners. Step back and check the height from several angles. Confirm that doors, cabinet doors, light switches, and nearby artwork have enough clearance.
Then measure from the top of the mirror down to each D-ring or bracket. Transfer those measurements to the wall from your taped outline. This step prevents the common frustration of drilling perfectly level holes that place the mirror several centimetres too high or too low.
Use a level to mark both mounting points. If you are using wire, remember that the wire pulls upward into a shallow V when the mirror is hung. Measure the wire under tension rather than measuring it while it hangs loose.
Install It With Help, Not Hope
A large mirror is awkward even when it is not exceptionally heavy. Have another adult help lift and position it. Wear closed-toe footwear and work with a clear floor area so there are no rugs, boxes, or tools to trip over.
Install the screws or anchors, leaving the screw head proud of the wall by the amount required for the D-ring or keyhole bracket. Hang the mirror carefully, then lower it until both hangers are fully seated. Check it with a level and apply gentle downward pressure to make sure the hardware is engaged.
Do not test a mirror by pulling hard on the bottom edge. Instead, inspect the brackets, confirm that the screws are not flexing, and make sure the frame sits flat against the wall. For mirrors in high-traffic areas, small clear bumpers at the lower corners can protect the wall and reduce rattling.
Consider a French Cleat for Large or Wide Mirrors
A French cleat is one of the most secure options for a wide, heavy mirror. It uses two interlocking angled strips: one fixed firmly to the wall and one attached to the mirror frame. The mirror lowers onto the wall cleat, spreading weight across a broader area.
This method is especially useful when the frame is wide enough to reach two studs. It also makes levelling easier than trying to align two separate D-rings. The trade-off is that the cleat must be attached properly to a strong portion of the mirror frame. Thin decorative moulding alone is not enough.
Mistakes That Make Heavy Mirrors Unsafe
The most frequent mistake is selecting hardware based only on the package rating, without considering wall type or the direction of force. Another is using one central hook for a wide mirror, which can allow the frame to tilt and repeatedly stress one point.
Avoid hanging a heavy mirror from picture wire unless both the wire and its attachment points are rated for the full load. Do not mount through damaged drywall, loose tile, or crumbling plaster and hope the fastener will compensate. Repair the surface or find a stronger mounting method first.
Also check for electrical wires and plumbing before drilling. Stud finders with live-wire detection can help, but they are not foolproof. Be particularly careful near outlets, switches, sinks, and areas where plumbing may run.
When It Makes Sense to Call a Handyman
Professional installation is a sensible choice when a mirror is oversized, mounted on tile or masonry, has an unusual frame, or needs to be centred precisely over a fireplace, vanity, or stair landing. It is also worthwhile when you do not have a second person available to lift safely.
For Calgary homeowners, landlords, and busy households, Nestor’s Home Help can assess the wall, supply suitable mounting hardware, and install the mirror cleanly without leaving you to patch misplaced holes. A careful installation is faster than repairing damaged drywall, replacing tile, or dealing with a fallen mirror later.
A heavy mirror should feel permanent once it is on the wall. Take the extra time to find solid support, use hardware designed for the surface, and ask for help with the lift. That is how you get the finished look you want without turning a simple upgrade into a repair job.
Vitalii Nestorenko is the owner of Nestor's Home Help, a licensed and insured handyman business in Calgary. He holds a Master's degree in mechanical engineering and does every job himself.