How to Assemble Flat Pack Furniture Properly
By Vitalii Nestorenko · October 4, 2026 · 6 min read
A new flat pack box can look manageable until the hardware bags, panels, and instruction booklet are spread across your living room. Knowing how to assemble flat pack furniture is less about being naturally handy and more about following the right order, protecting the materials, and refusing to rush the parts that matter.
For Calgary homeowners, renters, and landlords, a properly assembled dresser, bed frame, desk, or storage unit should feel solid, sit level, and work as intended. A loose cam lock or a backward-facing panel may not look serious at first, but it can lead to wobbly furniture, damaged drawers, scratched flooring, or a unit that needs to be taken apart and rebuilt.
Before You Start: Set Up for a Clean Build
Flat pack furniture is easiest to assemble before a single fastener is installed. Choose a clear, well-lit area with enough floor space to lay out the largest panel. If the item is going into a bedroom, office, or tight condo space, check whether it can be moved through doorways once it is built. Large wardrobes and bed frames are often better assembled in the room where they will stay.
Protect the floor with the flattened cardboard box, a moving blanket, or a clean sheet. This prevents scratches on both the flooring and the furniture finish. Avoid building on thick carpet when possible. Soft flooring can make a cabinet seem square when it is not, which may cause doors and drawers to fit poorly later.
Open the package carefully and keep the instruction booklet, hardware bags, and parts together. Do not cut deeply into the box with a utility knife. It is surprisingly easy to score a tabletop, cabinet door, or upholstered panel hidden just below the cardboard.
Before building, compare the parts and hardware to the instructions. Count the cam locks, dowels, screws, hinges, drawer runners, and feet. Manufacturers occasionally include a spare screw or dowel, but a missing structural piece should be addressed before you get halfway through the assembly.
Tools That Make Flat Pack Assembly Easier
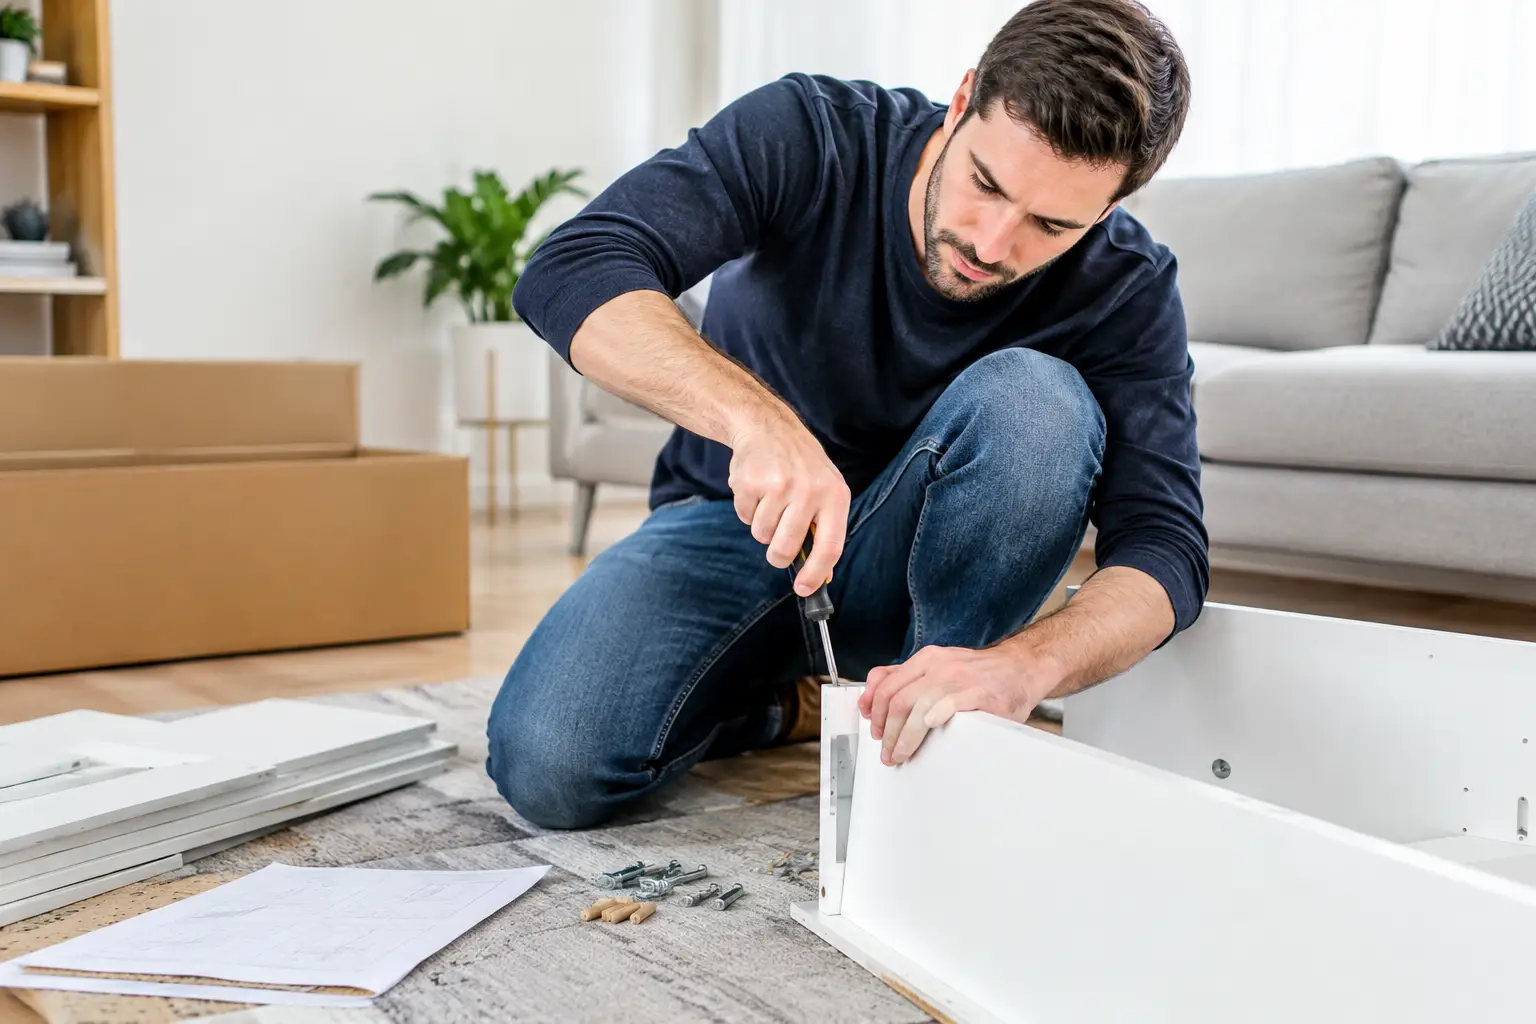
Many flat pack items include a small Allen key. It will work, but it is rarely the fastest or most comfortable option. A basic set of hand tools gives you better control and reduces the chance of stripped hardware.
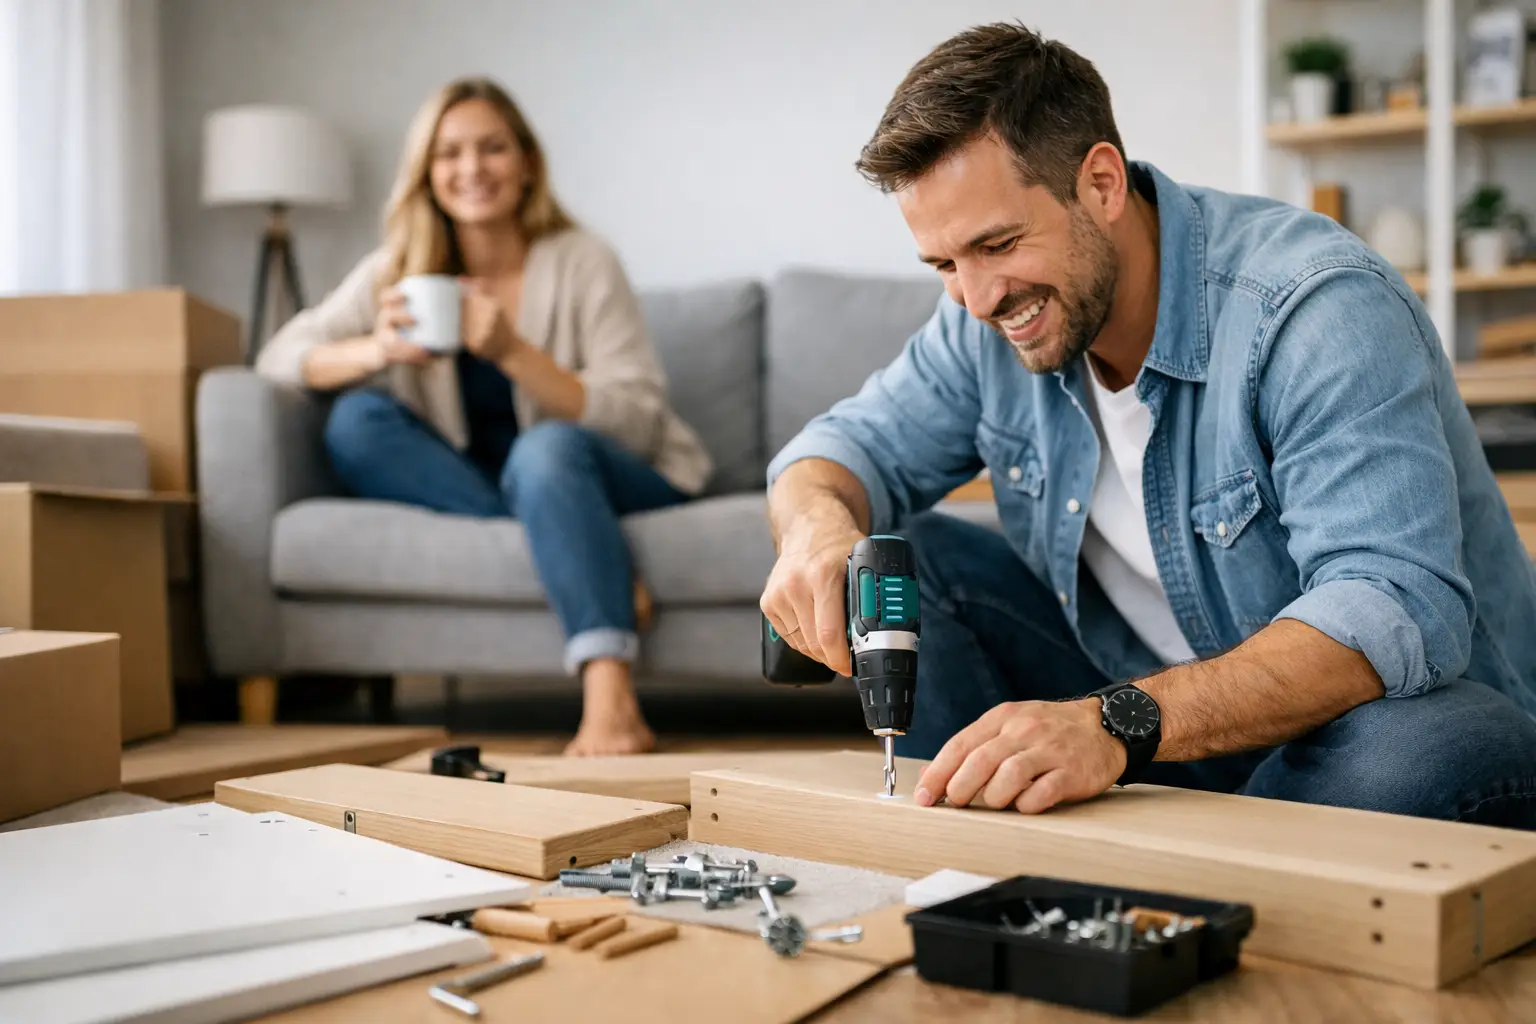
Keep a Phillips screwdriver, flat-head screwdriver, rubber mallet, tape measure, level, and adjustable wrench nearby. A drill can help with certain tasks, but it needs to be used with care. High speed or too much torque can strip particleboard, split a panel, or pull a cam fitting through the surface. For most furniture, a hand screwdriver is the safer choice for final tightening.
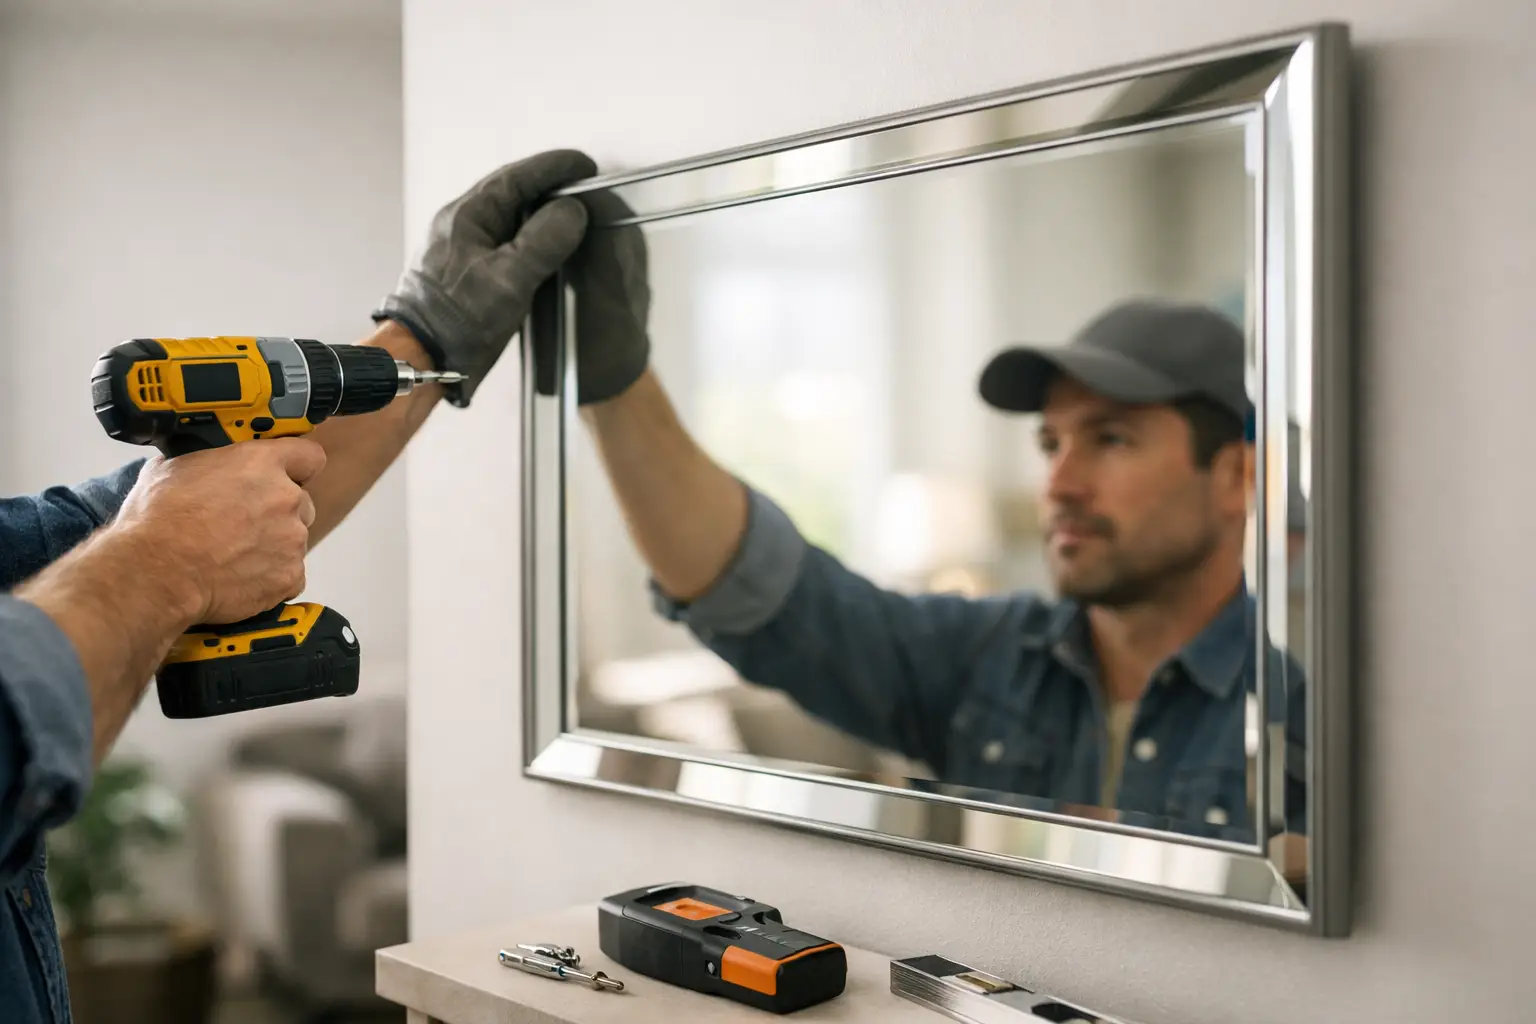
If the instructions call for wall anchoring, you may also need a stud finder, drill, appropriate bit, and wall anchors rated for the wall type. Never assume a supplied anchor is suitable for every wall. Drywall, concrete, masonry, and steel-stud walls need different fastening methods.
How to Assemble Flat Pack Furniture in the Right Order
The instructions are not always perfectly written, but their sequence usually matters. Start by identifying the visible sides of every panel. Finished edges, pre-drilled holes, grooves, and labels are clues. A panel installed backward can force you to dismantle several completed steps later.
Build the frame loosely first
For cabinets, shelving units, desks, and bed frames, begin by attaching the main side panels, rails, and fixed shelves as shown in the instructions. Insert wooden dowels fully and straight. They are alignment pieces, not screws, so forcing them at an angle can chip the edge of particleboard.
Install cam bolts and cam locks carefully. The opening or arrow on a cam lock normally needs to face the direction of the bolt head. Once connected, turn the cam only until it locks firmly. Overturning it can damage the fitting or crack the panel around it.
At this stage, do not fully tighten every connector. Leave the frame slightly loose enough to make small adjustments. This is especially important with wide bookcases, wardrobes, and drawer units.
Square the unit before tightening
Once the main frame is together, check that it is square. Measure diagonally from one top corner to the opposite bottom corner, then measure the other diagonal. If the measurements are equal or very close, the frame is square. If they differ, gently shift the frame until it lines up.
This step makes a major difference. A cabinet that is out of square may have doors that rub, drawers that bind, or a back panel that does not fit. Tighten the structural hardware only after the frame is aligned.
When attaching a thin back panel, make sure it is installed in the correct orientation. The back panel often locks the entire piece into square. Nail or screw it in gradually, alternating from side to side rather than securing one edge completely before checking alignment.
Install drawers, doors, and moving parts last
Drawer slides and hinges need patience. Install matching slide pieces on the correct side and at the correct height. Left and right runners are often not interchangeable. If a drawer will not slide smoothly, stop before forcing it. Check that the runners are level, parallel, and fully seated.
Doors should be adjusted after the unit is standing in its final position. Small hinge screws usually control side-to-side alignment, depth, and height. Make adjustments in small increments. A level floor also matters, so use adjustable feet or shims where appropriate before blaming the hinges.
Common Mistakes That Lead to Wobbly Furniture
The most common problem is tightening hardware too early. Once everything is locked down, it becomes much harder to correct an out-of-square frame. Another frequent issue is mixing hardware. Similar-looking screws may differ by only a few millimetres, but using a long screw in the wrong location can pierce a finished surface.
Skipping the wall anchor is another mistake, particularly with tall dressers, bookcases, and wardrobes. Anti-tip hardware is not optional if there is a risk of climbing children, pets, or an uneven load. Secure tall furniture to a suitable wall point according to the manufacturer’s directions.
It also helps to avoid dragging a finished piece across the floor. Lift it with another person whenever possible. Particleboard furniture can loosen at joints when twisted, and dragging can damage feet, laminate edges, and flooring.
When DIY Assembly Is Not the Best Choice
Some furniture is simple enough to build in an hour. Other pieces are heavy, awkward, and frustrating even for experienced homeowners. Large wall units, Murphy beds, multi-drawer dressers, bunk beds, wardrobes, and furniture requiring wall mounting deserve extra care.
Hiring help can make sense when time is limited, the instructions are unclear, or the item must be assembled safely in a tight space. It is also a practical option for landlords preparing a rental, busy families moving into a new home, or anyone who does not want to risk damaging a costly item during setup.
A professional assembler can also identify issues that are easy to miss, such as a warped panel, missing hardware, stripped factory hole, or incorrect part supplied in the box. Finding that out before the return window closes saves a lot of trouble.
Final Checks Before You Load It Up
Let the furniture stand in its final location, then check it from every angle. Confirm that it does not rock, all drawers open smoothly, doors close evenly, and shelves are seated on every support. Retighten accessible hardware once the unit is level, but do not overtighten particleboard connections.
Add felt pads under legs where needed, especially on hardwood, vinyl, or laminate floors. If the furniture is tall or top-heavy, complete the wall anchor before loading shelves or drawers. Finally, keep the spare hardware and instruction booklet in a labelled bag. They are useful when moving, adjusting, or repairing the item later.
Flat pack furniture rewards patience more than speed. Take the time to prepare, build in sequence, and check alignment as you go. If the job feels bigger than the box suggested, Nestor’s Home Help can assemble it cleanly, securely, and with the care your home deserves.
Vitalii Nestorenko is the owner of Nestor's Home Help, a licensed and insured handyman business in Calgary. He holds a Master's degree in mechanical engineering and does every job himself.